Analytics

Blog Template

Pinterest

Showing posts with label birthday. Show all posts

January 2, 2014

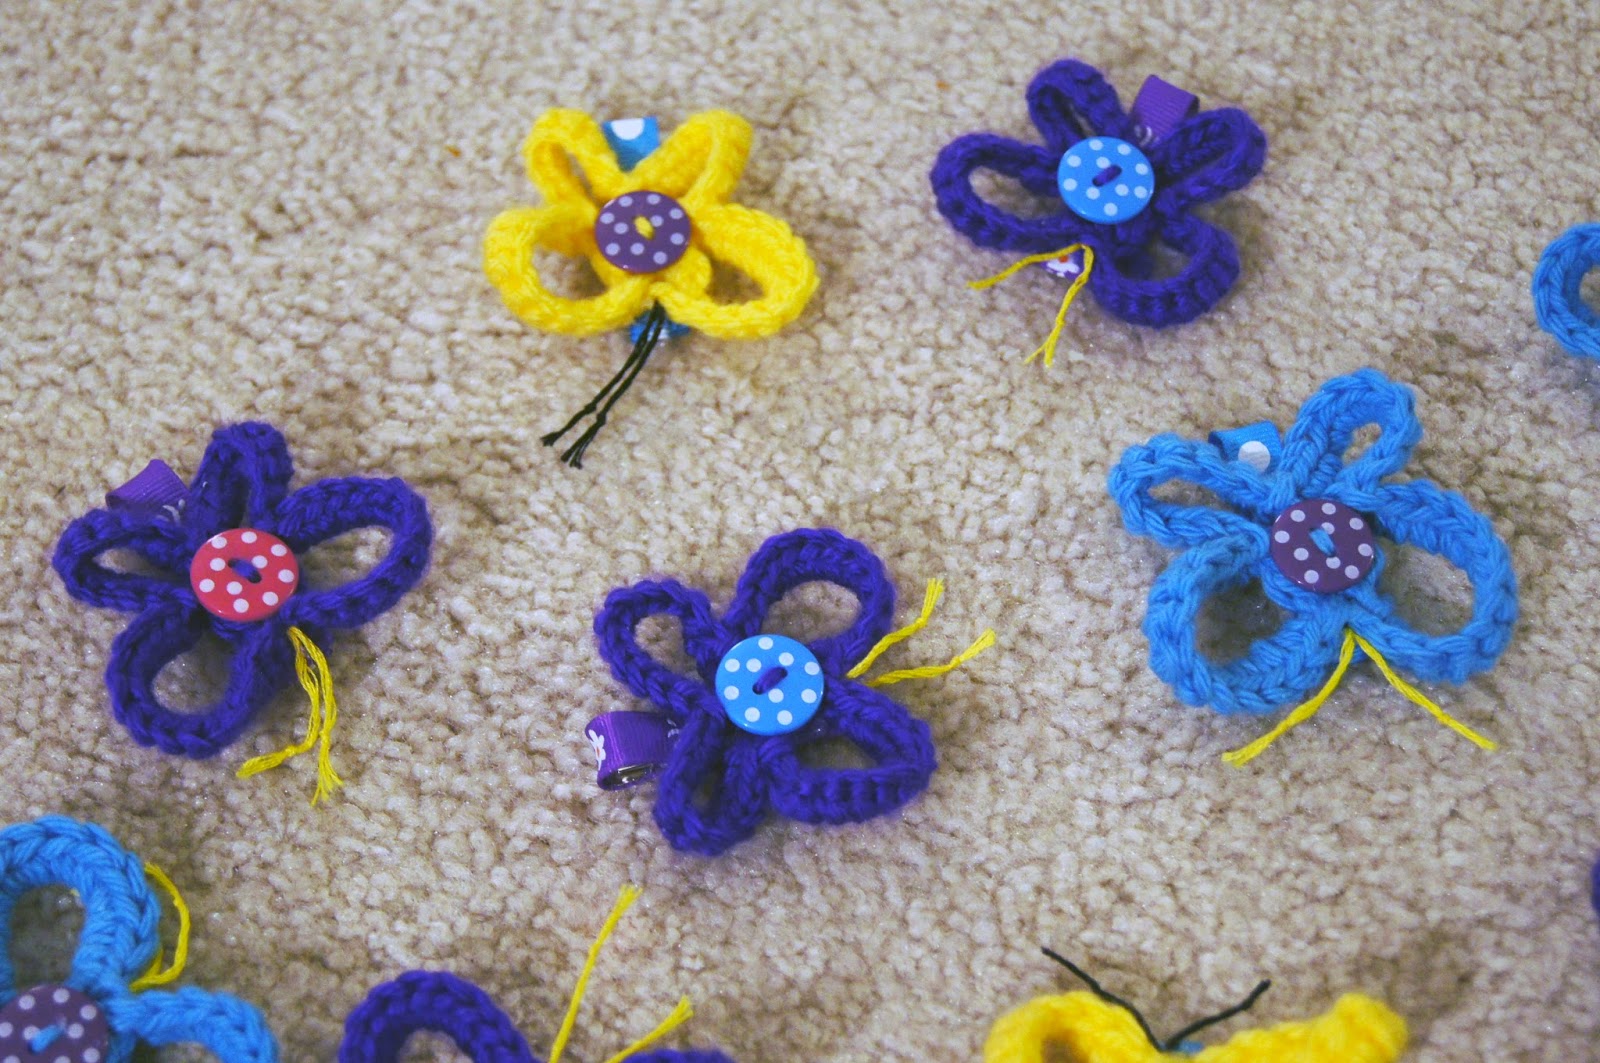
Making Ribbon-Covered Butterfly Hair Clips

I haven't been around here for a while, so I thought I would give you something nice. A ribbon-covered butterfly hair clip in six steps.

I came across a crochet butterfly pattern a few months ago called from Everlaughter by Patricia Eggen. She mostly does appliques, but also has a few other patterns for sale. The butterflies really caught by eye, so I saved the pattern because I knew I would find a way to use it.

And so I did.

We're having Katie's and Ivy's birthday party this Saturday, and since I made ribbon rainbows last year for the Rainbow Party, I thought I would continue the tradition this year. What four-year-old girl doesn't love hair clips, anyway?

Want to make some? Super-simple. Here we go! Six steps.

You'll need:
Butterfly appliques (I'm not going to share the pattern - it's copyrighted)
1.75" hair clips--one for each butterfly -- the straight ones are best
Ribbon to cover the hair clips; I used gross grain.
Hot glue and your trusty glue gun

 
Step 1: Pinch a clip open, and, starting on the inside, lay down a nice line of glue all the way to the end of the clip. Take your ribbon and with right side up, insert in the clip and press firmly.


Step 2: Now with the clip closed, lay down another strip of glue on the outside of the clip. Fold the ribbon over and press firmly to stick it down.


Step 3: Flip the clip over so the top of the other side is showing. Apply another strip of glue, fold the ribbon around the end of the clip and press firmly to he clip all the way to the end.


Step 4: Pinch the clip open and add one more strip of glue to the inside of the clip. Fold the ribbon over and stick down by pressing firmly.


There. You now have a ribbon-covered clip.


Step 5: On the top of the clip, you'll put down one last line of glue. Take your butterfly applique and press down firmly so that it's secured.


 Let it cool and it's ready to wear!


I made one or two for each favor bag.


These little applique hair clips are a great way to use up left-over yarn. You could make these clips with any kind of applique type item: fabric flowers, animal appliques, ribbon, etc.

I hope you enjoyed learning how to make a ribbon-covered hair clip with a butterfly applique! Check out Everlaughter for some more really cool applique patterns.And if you make some cool clips, link me up in the comments! I would love to see!


April 7, 2013

Baby Ivy Turns 3 months!

A few days before Easter, Baby Ivy reached three months old. We had SO much going on that pictures had to wait until this weekend. So we did Easter and "birthday" all at once - time saving!

I made a crochet "Easter Egg" hat and bowl set for her as well as a matching birthday dress and and headband set. I got 24 great pics out of the photo session, but only shared a few here because I know you're busy, too!

Enjoy the photos!


March 31, 2013

The Sassy and Classy Tutu Dress Tutorial - PART 3: Skirt Construction and Finishing


Hi, everyone, and thanks for joining me for Part 3 of the Sassy and Classy Dress Tutorial: Skirt Construction and Finishing!

At this point, you should already have your bodice put together. If you don’t, check out Part 2 of this tutorial series. If you haven't started yet and need to catch up, go back to Part 1 for material prep.

Let’s get down to business!

To make a super full tutu – one that fluffs out rather than one that just hanging down semi-flat – you’ll need a lot of tulle and a little patience. For this skirt, I used 5 yards of black tulle (4 will work just fine), and probably ½ yard of shimmery white (who knew there are different kinds!). I also used a square of stretch lace cut to about 15.5”x15.5” with a nice round circle cut out of the middle. I used it to lay over the skirt for 1) visual interest, and 2) to put a little weight on the fluffy tulle.
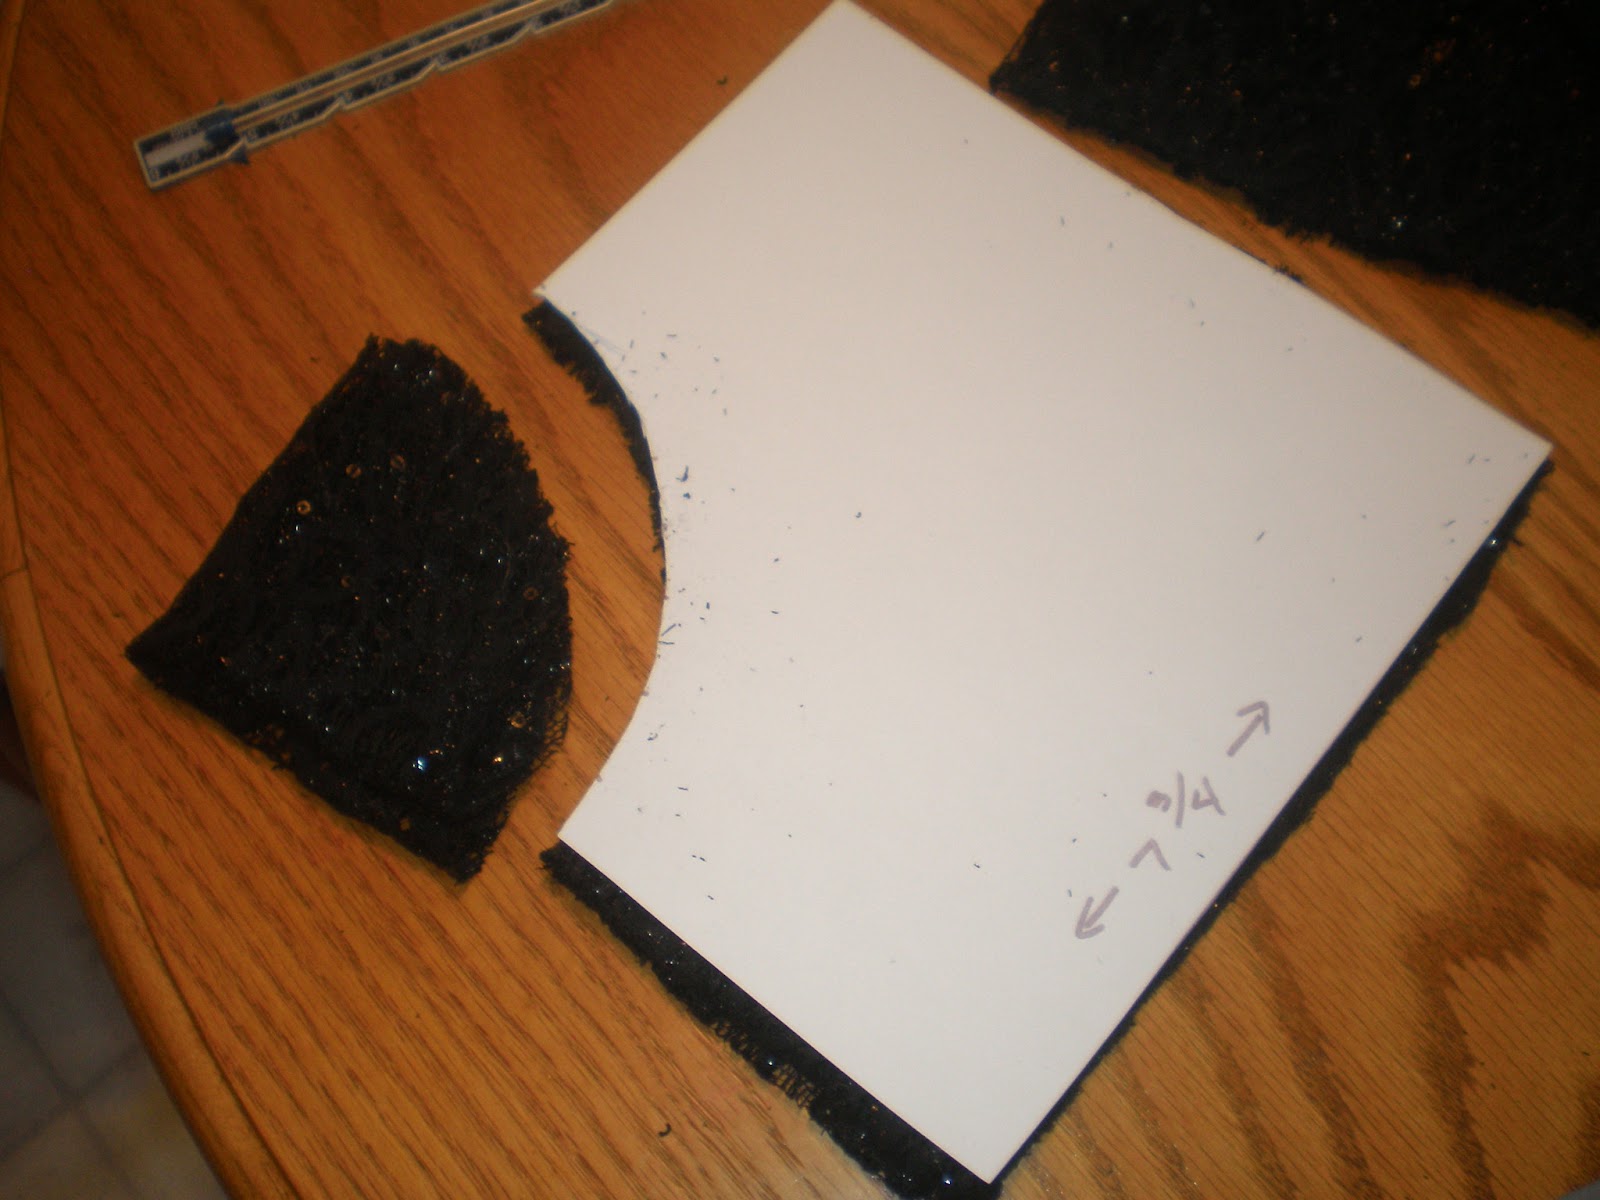
A 15.5"x15.5" square of stretch lace folded into fourths and the middle cut out. 
Hint: Fold into fourths and then cut out on the corner.


First, fold your tulle in half the long way. This will give you a 28” piece to cut rather than a 56” piece. Then fold the short way a few times until you get a 28” wide piece of tulle that’s manageable for you. Remember, there’s no need to be super- finicky since the unevenness gives the skirt more personality. From the fold opposite the selvages, measure 4” and pin the length (this will give you an 8” strip). Then measure over 8” and pin the length again. Do that two more times. Your tulle should look like this:

Selvage is on the left side, long fold is on the right side. Pins are at 8", 8", 8", and 4"

Cut your tulle into strips by cutting along your line of pins (but don’t remove the pins until you're ready to sew - this will keep them from being all over the place). You should have eight  8”x 180” wide strips of tulle all nicely folded and manageable with pins still attached.

Pinned 8" wide strip of tulle.


Let’s head over to the sewing machine and get it ready for ruffling!You can take your pins out now.

Put your bobbin thread in first (because once you put on the ruffler foot attachment you won’t be able to without taking it back off). Attach your ruffler foot and thread the needle. Set your ruffler to make the biggest tuck with the most number of stitches between tucks. Now adjust your machine to make long straight stitches (~5mm).  Ruffle away with a 5/8” seam allowance and be astounded at how easy this little (big!) foot attachment can make sewing life so easy!

If you don’t have a ruffler foot, you can gather the material by sewing a long straight stitch and then pulling on the top thread to scrunch up the tulle – takes a little more time but it gets the job done.  Sorry I don’t have a pic of this part. My 3 year old ran off with my camera to become my project photographer (not bad, eh?).


I ruffled each piece of tulle separately and then, using a long straight stitch and my regular sewing foot and a seam allowance of 5/8”, joined each piece of tulle with an overlap of about 1/2 yard. For example, when I got to the last ½ yard of my first piece, I added my second piece. When I got to the last ½ yard of my second piece, I added my third, and so on. As I stitched along, I added tufts of white tulle (9"x9" squares, scrunched up) into the skirt to give it some pizzazz. You can put it on top of the black tulle, under the tulle (harder, or in between tulle ruffles when you're overlapping. I should have used more - at least the whole yard. You’ll learn from my mistake, right? ;o)

White tulle.
White tulle all scruched up and ready to place in the seam
Ready to sew in the tuft of white tulle.
White tulle sewn in (look behind the foot).

 In the end, you’ll have a long, super-ruffle like this that your kids can play with as you watch with both awe and horror:


Here’s where it might get confusing (because I’m not sure how to explain it). Measure the front of your bodice. Multiply that number by two.  That’s the circumference of the skirt you’ll need. So take this measurement and a tape measure and measure that length from one end on your super-ruffle. Mark with a pin. Fold at the pin so that the end of your super-ruffle meets the pin and re-pin.

There are a couple ways to sew this skirt: 1) You can fold your super-ruffle around and around and pin so that you only have to fight with the ruffles once OR you can 2) just sew around and around and around on your sewing machine until your skirt is done. I chose the first way.
All pinned up!

Ready to sew.


So FUNtastically fluffy!

Now that the tulle is all sewn in a nice circle, I added my stretch lace on top, with wrong side of lace to right side of tulle. Sew with that same 5/8” seam allowance.
 
Stretch lace pinned on and ready to sew. The corners of the lace are pinned down so they'll stay out of the way as I sew. And, yes, the skirt really is standing up like that all by itself. Poofy!

Close up. Ignore the binding lace on the inside edge. Experiment gone horribly wrong.

 Pin skirt to bodice, right sides together. Sew skirt to bodice with a 5/8” seam allowance.

Skirt pinned to bodice. Again, ignore the lace binding. Horribly wrong.

I basted, and then sewed. Made it easier for me.

I would recommend serging the seam here just to make sure it’s not uncomfortable, but I didn’t do that on this specific project.

AAAAAAAAAAAAAND We’re done! WOOHOO! You now have a super cute Sassy and Classy Tutu Dress for your own little special someone!  **There are probably easier ways to do this than I’ve done, but I never said I take the easy way around, haha.


Don't forget to clip stray threads.

I hope you enjoyed my tutorial, even though this third part was a little long. If you make a tutu dress from this tute, I would absolutely LOVE to see pics! Please leave a comment if you have a question, if I left something out, or you just want to say something nice. I love reader comments!

March 23, 2013

Sassy and Classy Tutu Dress Tutorial - Part 2: Bodice Construction


Today we’re going to walk through the construction of the bodice. If you’re just catching up to us, check out Part 1 for preparation of your pattern and materials.

Now that you have all your bodice pieces prepared and laid out, we’re ready to begin putting the bodice together. If you haven’t already done so, cut out your lining pieces so you have a total of six pieces staring at you.

Putting the bodice together is super easy, so don’t let certain techniques - like understitching or making a narrow hem - intimidate you. Understitching scared and confused the crap out of me a lot the first time I did it, but it’s a very important step for the bodice to sit correctly on the body – do NOT skip that step. Alternatively you could topstitch, but understitching gives a much cleaner look with the same results.    


To begin, with right sides together, stitch each bodice back to the bodice front at shoulders to form the outer bodice. Do the same thing with your lining.  

Bodice front and backs being stitched together at the shoulders. You can see the basting here just inside the seam allowance where I basted together the lace and satin in Part 1.

Lining front and back stitched together at shoulders.


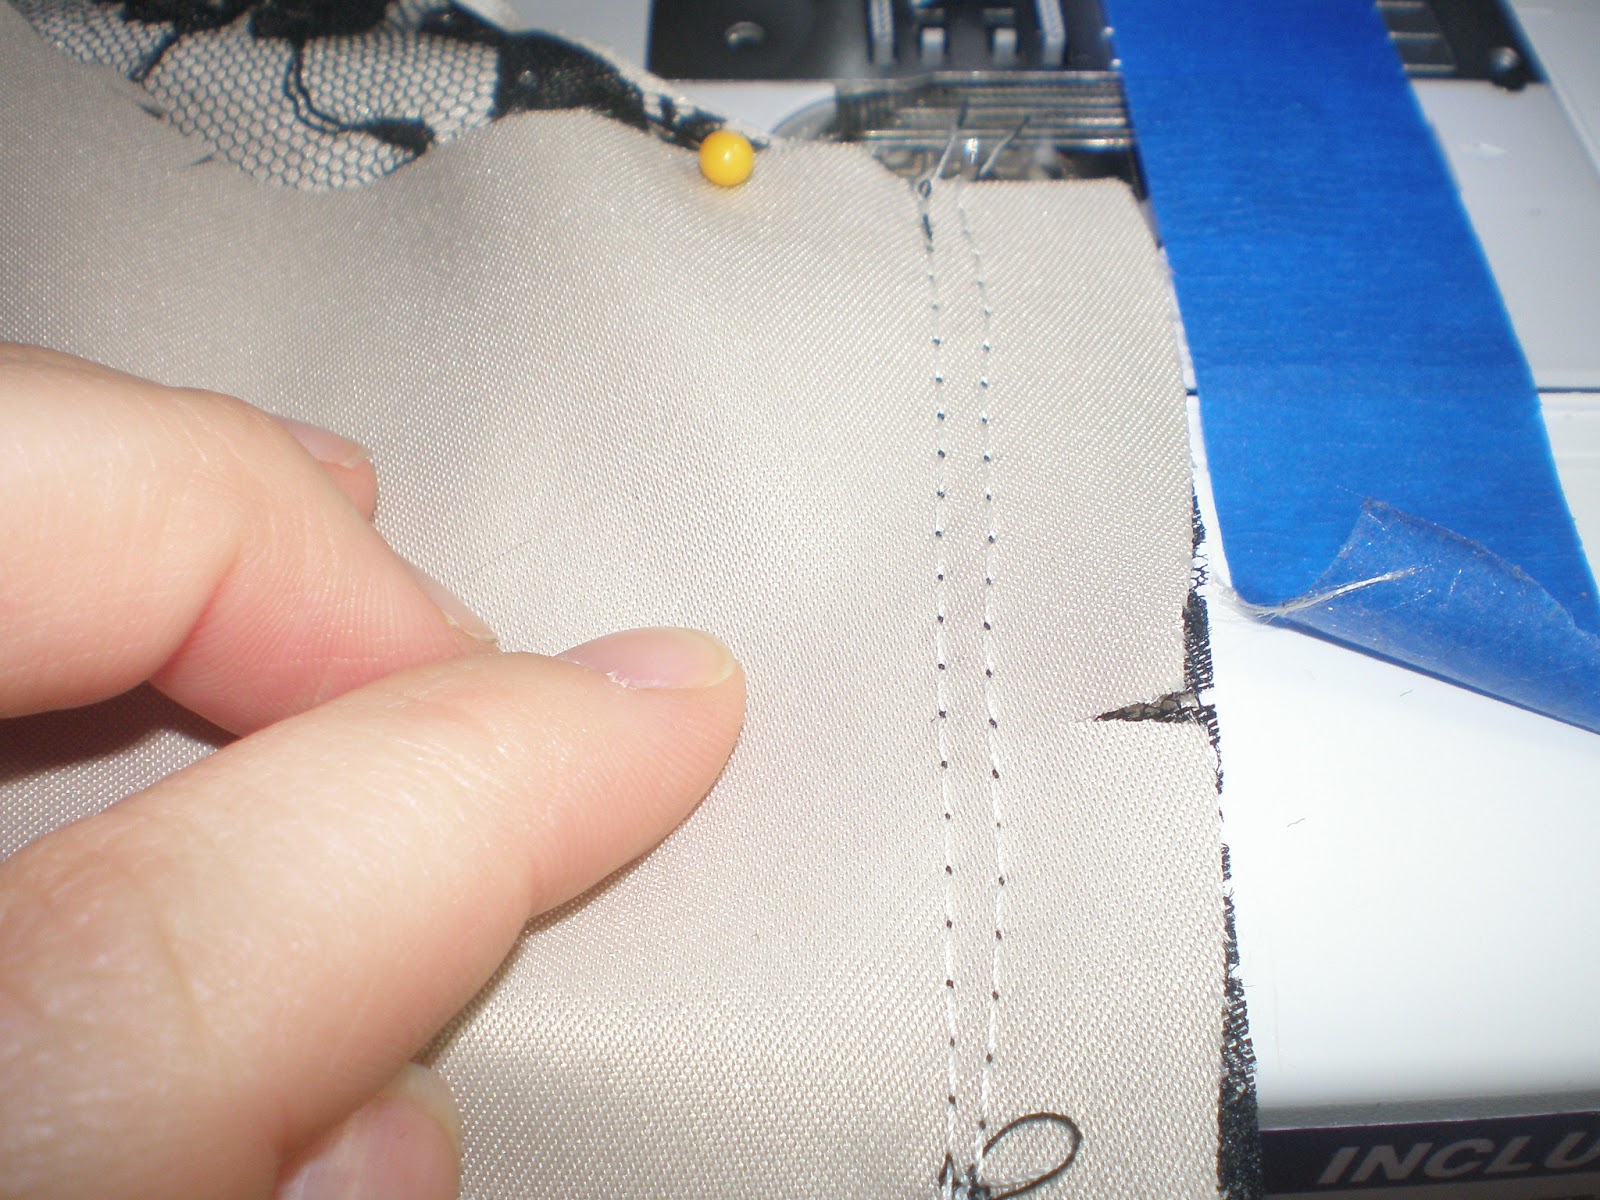
With right sides together pin the lining to the outer bodice. Stitch at neck edges and armhole edges. Trim the seams to about ¼” and then UNDERSTITCH* the lining as far as you can around the neck and armhole edges. **Tip: Use pins to mark stop/start points for understitching so that it’s even on both sides. * To UNDERSTITCH, open out the lining so you are looking at the inside (or wrong side) and stitch the lining to the seam allowance close to the seam. I like to stitch at 1/16" or 1/8" from the seam.


Right sides together, the lining is pinned to the outer bodice at the neck edge.
Stitch the neck edge with a 3/8" seam allowance. Stitch armhole edges in the same fashion.
Trim the seam allowance to about 1/4".

Open out the lining from the outer bodice so right sides are face down.

Stitch lining to seam allowance close to the seam. Do this around neck and armhole edges.


Turn the bodice right side out by pulling each section through the shoulder. Press.
Open out the lining. With right sides together, pin outside bodice and lining sides together. Stitch in a continuous seam.
Lining opened out from bodice. Right sides pinned together.

Lining and outer bodice are stitched together in a continuous seam. Again, you can see the basting stitches from putting the lace and satin pieces together in Part 1. You can also see the understitching from the previous step.


Turn lining down and keeping it free, stitch the back of the bodice at the center back seam from the bottom to where your zipper will stop. Leave the bodice open above the zipper stopping point (you need an open spot to stick in that zipper). Do the same thing for the lining, taking care to only stitch to where your zipper will stop.
Bodice back pinned and ready to sew. The double vertical pins indicate my STOPPING POINT while the horizontal pin indicates my center back seam line. You can see how my pins correlate to my pattern here. Stitch from the bottom edge of the bodice up to the stopping point.


Turn lining down. Form a NARROW HEM* on the lower edge of the lining. *To make a narrow hem, turn up your seam allowance to the INSIDE and press. Turn the edge of the fabric into the crease and press again. Stitch. If you really don't want to do the Narrow Hem, turn up your seam allowance and press. **I like to serge the edge of the lining because it makes it easier to press, and easier to form a narrow hem.

Form a Narrow Hem by turning up seam allowance to the INSIDE and pressing. Turn edge of lining into the crease and press again. Stitch.


 There! In six steps, you’ve made a bodice for your very own tutu dress! I hope everything I’ve tried to communicate here is clear. I haven’t written many tutorials, so if something isn’t clear or needs more explanation, please comment so I can clarify.

Good luck and come back on the 30th for Part 3: Tutu Construction!
Related Posts Plugin for WordPress, Blogger...