

Today we’re going to walk through the construction of the
bodice. If you’re just catching up to us, check out Part 1 for preparation of
your pattern and materials.
Now that you have all your bodice pieces prepared and laid
out, we’re ready to begin putting the bodice together. If you haven’t already
done so, cut out your lining pieces so you have a total of six pieces staring
at you.
Putting the bodice together is super easy, so don’t let
certain techniques - like understitching or making a narrow hem - intimidate you. Understitching
scared and confused the crap out of me a lot the first time I did it, but it’s
a very important step for the bodice to sit correctly on the body – do NOT
skip that step. Alternatively you could topstitch, but understitching gives a much
cleaner look with the same results.
To begin, with right sides together, stitch each bodice back to the bodice front at shoulders to form the outer bodice. Do the same thing with your lining.
 |
| Bodice front and backs being stitched together at the shoulders. You can see the basting here just inside the seam allowance where I basted together the lace and satin in Part 1. |
 |
| Lining front and back stitched together at shoulders. |
With right sides together pin the lining to the outer bodice. Stitch at neck edges and armhole edges. Trim the seams to about ¼” and then UNDERSTITCH* the lining as far as you can around the neck and armhole edges. **Tip: Use pins to mark stop/start points for understitching so that it’s even on both sides. * To UNDERSTITCH, open out the lining so you are looking at the inside (or wrong side) and stitch the lining to the seam allowance close to the seam. I like to stitch at 1/16" or 1/8" from the seam.
 |
| Right sides together, the lining is pinned to the outer bodice at the neck edge. |
 |
| Stitch the neck edge with a 3/8" seam allowance. Stitch armhole edges in the same fashion. |
 |
| Trim the seam allowance to about 1/4". |
 |
| Open out the lining from the outer bodice so right sides are face down. |
 |
| Stitch lining to seam allowance close to the seam. Do this around neck and armhole edges. |
Turn the bodice right side out by pulling each section through the shoulder. Press.
Open out the lining. With right sides together, pin outside bodice and lining sides together. Stitch in a continuous seam.
 |
| Lining opened out from bodice. Right sides pinned together. |
 |
| Lining and outer bodice are stitched together in a continuous seam. Again, you can see the basting stitches from putting the lace and satin pieces together in Part 1. You can also see the understitching from the previous step. |
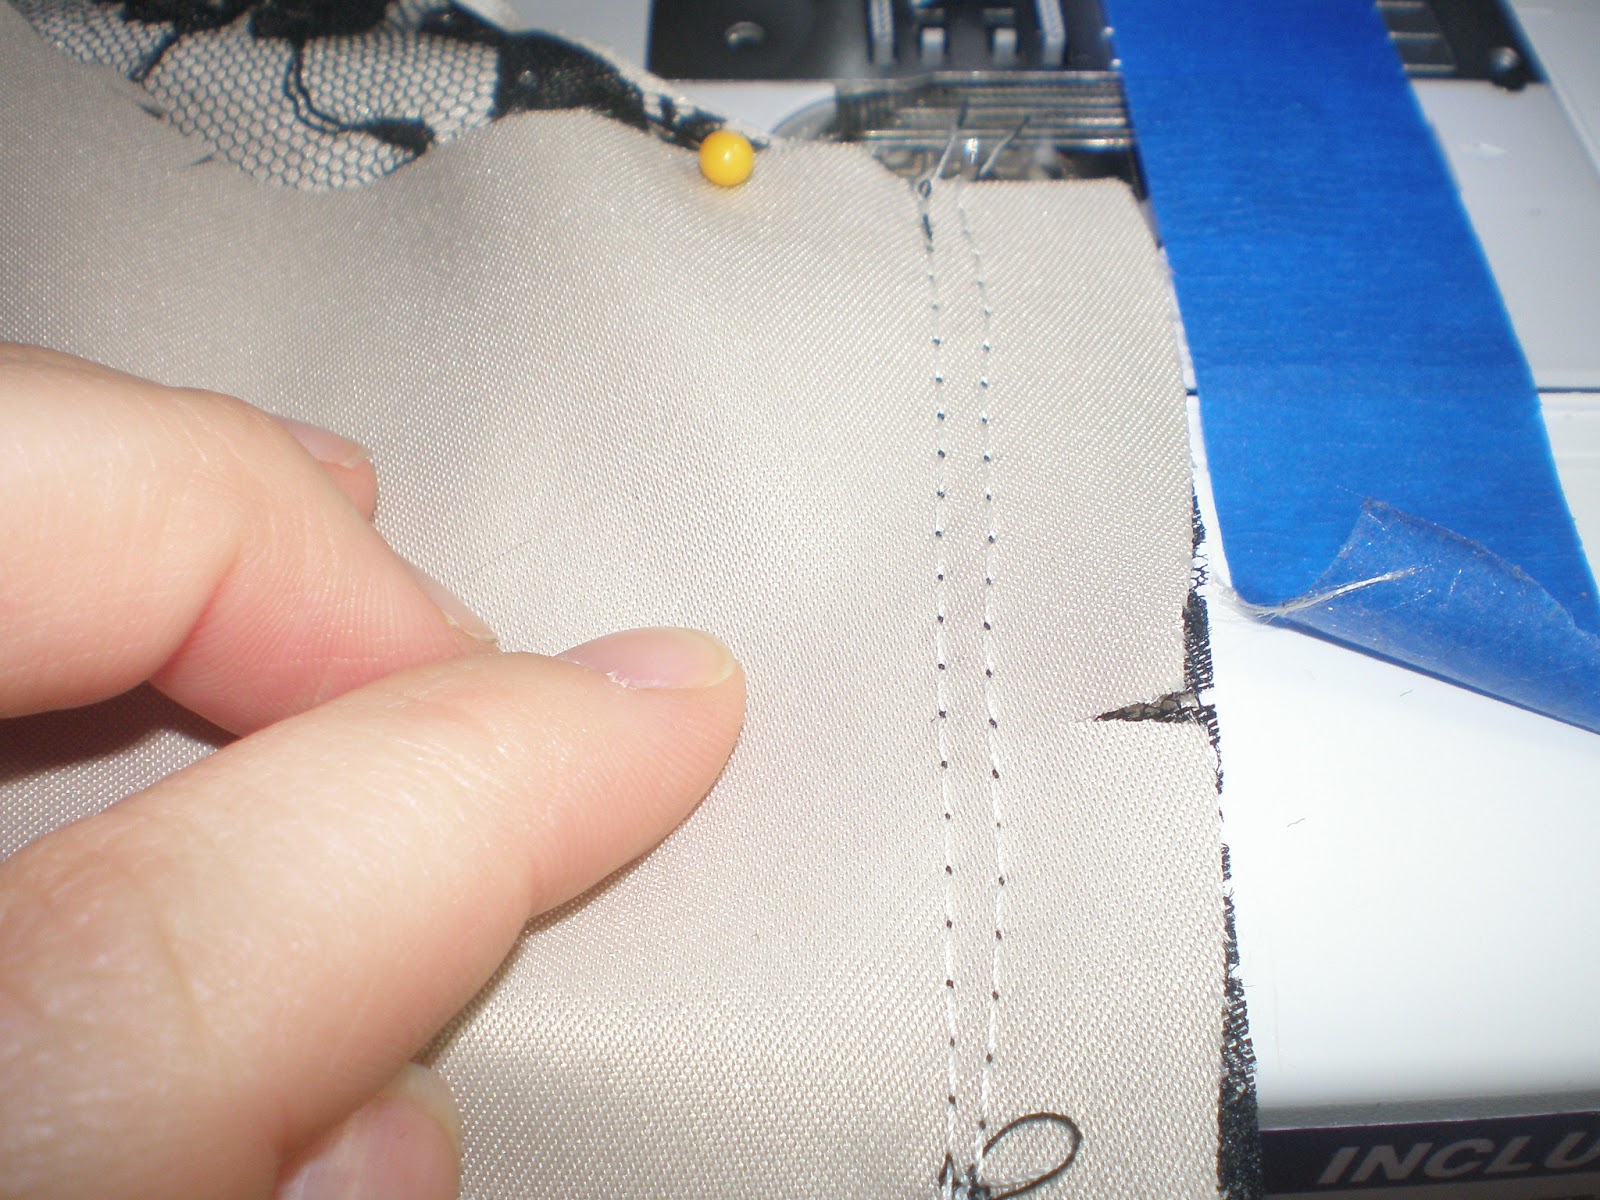
Turn lining down and keeping it free, stitch the back of the bodice at the center back seam from the bottom to where your zipper will stop. Leave the bodice open above the zipper stopping point (you need an open spot to stick in that zipper). Do the same thing for the lining, taking care to only stitch to where your zipper will stop.
 |
| Bodice back pinned and ready to sew. The double vertical pins indicate my STOPPING POINT while the horizontal pin indicates my center back seam line. You can see how my pins correlate to my pattern here. Stitch from the bottom edge of the bodice up to the stopping point. |
Turn lining down. Form a NARROW HEM* on the lower edge of the lining. *To make a narrow hem, turn up your seam allowance to the INSIDE and press. Turn the edge of the fabric into the crease and press again. Stitch. If you really don't want to do the Narrow Hem, turn up your seam allowance and press. **I like to serge the edge of the lining because it makes it easier to press, and easier to form a narrow hem.
 |
| Form a Narrow Hem by turning up seam allowance to the INSIDE and pressing. Turn edge of lining into the crease and press again. Stitch. |
There! In six steps, you’ve made a bodice for your very own
tutu dress! I hope everything I’ve tried to communicate here is clear. I haven’t
written many tutorials, so if something isn’t clear or needs more explanation, please comment so I can clarify.
Good luck and come back on the 30th for Part 3: Tutu Construction!


No comments:
Post a Comment