

Hi, everyone, and thanks for joining me for Part 3 of the
Sassy and Classy Dress Tutorial: Skirt Construction and Finishing!
At this point, you should already have your bodice put
together. If you don’t, check out Part 2 of this tutorial series. If you haven't started yet and need to catch up, go back to Part 1 for material prep.
Let’s get down to business!
To make a super full tutu – one that fluffs out rather than
one that just hanging down semi-flat – you’ll need a lot of tulle and a little
patience. For this skirt, I used 5 yards of black tulle (4 will work just fine), and probably ½ yard
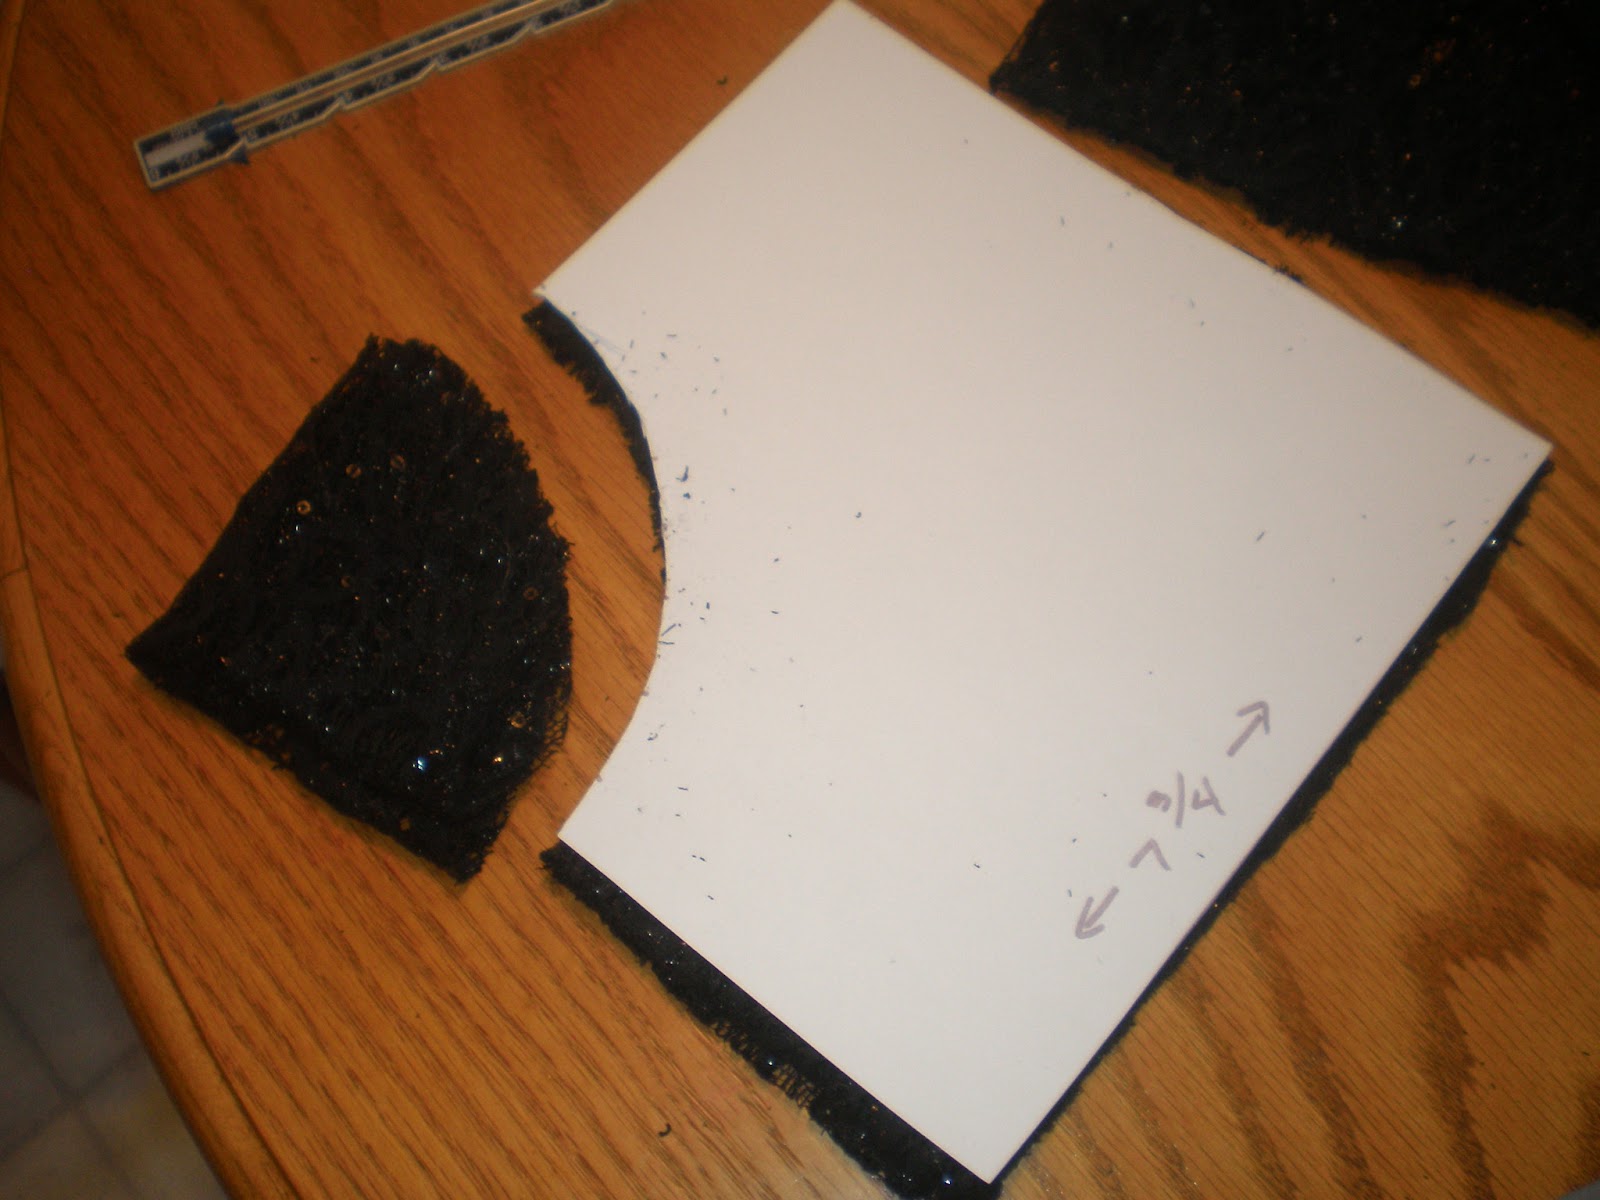
of shimmery white (who knew there are different kinds!). I also used a square
of stretch lace cut to about 15.5”x15.5” with a nice round circle cut out of the
middle. I used it to lay over the skirt for 1) visual interest, and 2) to put a
little weight on the fluffy tulle.
 | |||
| A 15.5"x15.5" square of stretch lace folded into fourths and the middle cut out. Hint: Fold into fourths and then cut out on the corner. |
First, fold your tulle in half the long way. This will give
you a 28” piece to cut rather than a 56” piece. Then fold the short way a few
times until you get a 28” wide piece of tulle that’s manageable for you. Remember,
there’s no need to be super- finicky since the unevenness gives the skirt more
personality. From the fold opposite the selvages, measure 4” and pin the length
(this will give you an 8” strip). Then measure over 8” and pin the length
again. Do that two more times. Your tulle should look like this:
 |
| Selvage is on the left side, long fold is on the right side. Pins are at 8", 8", 8", and 4" |
Cut your tulle into strips by cutting along your line of
pins (but don’t remove the pins until you're ready to sew - this will keep them from being all over the place). You should have eight 8”x 180” wide strips of tulle all nicely
folded and manageable with pins still attached.
 |
| Pinned 8" wide strip of tulle. |
Let’s head over to the sewing machine and get it ready for
ruffling!You can take your pins out now.
Put your bobbin thread in first (because once you put on the
ruffler foot attachment you won’t be able to without taking it back off). Attach
your ruffler foot and thread the needle. Set your ruffler to make the biggest
tuck with the most number of stitches between tucks. Now adjust your machine to
make long straight stitches (~5mm). Ruffle away with a 5/8” seam allowance and be
astounded at how easy this little (big!) foot attachment can make sewing life
so easy!
If you don’t have a ruffler foot, you can gather the
material by sewing a long straight stitch and then pulling on the top thread to
scrunch up the tulle – takes a little more time but it gets the job done. Sorry I don’t have a pic of this part. My 3
year old ran off with my camera to become my project photographer (not bad, eh?).


I ruffled each piece of tulle separately and then, using a
long straight stitch and my regular sewing foot and a seam allowance of 5/8”,
joined each piece of tulle with an overlap of about 1/2 yard. For example, when
I got to the last ½ yard of my first piece, I added my second piece. When I got
to the last ½ yard of my second piece, I added my third, and so on. As I
stitched along, I added tufts of white tulle (9"x9" squares, scrunched up) into the skirt to give it some pizzazz.
You can put it on top of the black tulle, under the tulle (harder, or in between tulle ruffles when you're overlapping. I should have used more - at least the whole yard. You’ll learn from my mistake, right? ;o)
 |
| White tulle. |
 |
| White tulle all scruched up and ready to place in the seam |
 |
| Ready to sew in the tuft of white tulle. |
 |
| White tulle sewn in (look behind the foot). |
In the end, you’ll have a long, super-ruffle like this that
your kids can play with as you watch with both awe and horror:


Here’s where it might get confusing (because I’m not sure
how to explain it). Measure the front of your bodice. Multiply that number by
two. That’s the circumference of the
skirt you’ll need. So take this measurement and a tape measure and measure that
length from one end on your super-ruffle. Mark with a pin. Fold at the pin so
that the end of your super-ruffle meets the pin and re-pin.
There are a couple ways to sew this skirt: 1) You can fold
your super-ruffle around and around and pin so that you only have to fight with
the ruffles once OR you can 2) just sew around and around and around on your
sewing machine until your skirt is done. I chose the first way.
 |
| All pinned up! |
 |
| Ready to sew. |
 |
| So FUNtastically fluffy! |
Now that the tulle is all sewn in a nice circle, I added my
stretch lace on top, with wrong side of lace to right side of tulle. Sew with
that same 5/8” seam allowance.
 |
| Stretch lace pinned on and ready to sew. The corners of the lace are pinned down so they'll stay out of the way as I sew. And, yes, the skirt really is standing up like that all by itself. Poofy! |
 |
| Close up. Ignore the binding lace on the inside edge. Experiment gone horribly wrong. |
Pin skirt to bodice, right sides together. Sew skirt to bodice with a 5/8” seam allowance.
 |
| Skirt pinned to bodice. Again, ignore the lace binding. Horribly wrong. |
 |
| I basted, and then sewed. Made it easier for me. |
I would recommend serging the seam here just to make sure it’s
not uncomfortable, but I didn’t do that on this specific project.
AAAAAAAAAAAAAND We’re done! WOOHOO! You now have a super cute
Sassy and Classy Tutu Dress for your own little special someone! **There are probably easier ways to do this
than I’ve done, but I never said I take the easy way around, haha.
 |
| Don't forget to clip stray threads. |
I hope you enjoyed my tutorial, even though this third part was a little long. If you make a tutu dress from this tute, I would absolutely LOVE to see pics! Please leave a comment if you have a question, if I left something out, or you just want to say something nice. I love reader comments!


I so want to try making baby Z a tutu for her first birthday...will have to come back to your tutorial when I start. I have a lil over 5 mths so I guess I should probably get started soon :)
ReplyDeleteDo you prefer a particular store to buy your material? Ever tried buying fabric online?
If you just want the tutu, there are other ways to make one with an elastic waist that might be easier :) Hit me up for some links when you're ready!
DeleteI use Hobby Lobby (finally got one!) and Hancock for my materials since that's what I have here. I've ordered off Hancock's website, but have seen a billion fantastic fabrics on fabric.com that I love!
So DIVINE! That color is perfect on you. It would certainly be justifiable to go out and purchase more items in this glorious shade.
ReplyDelete